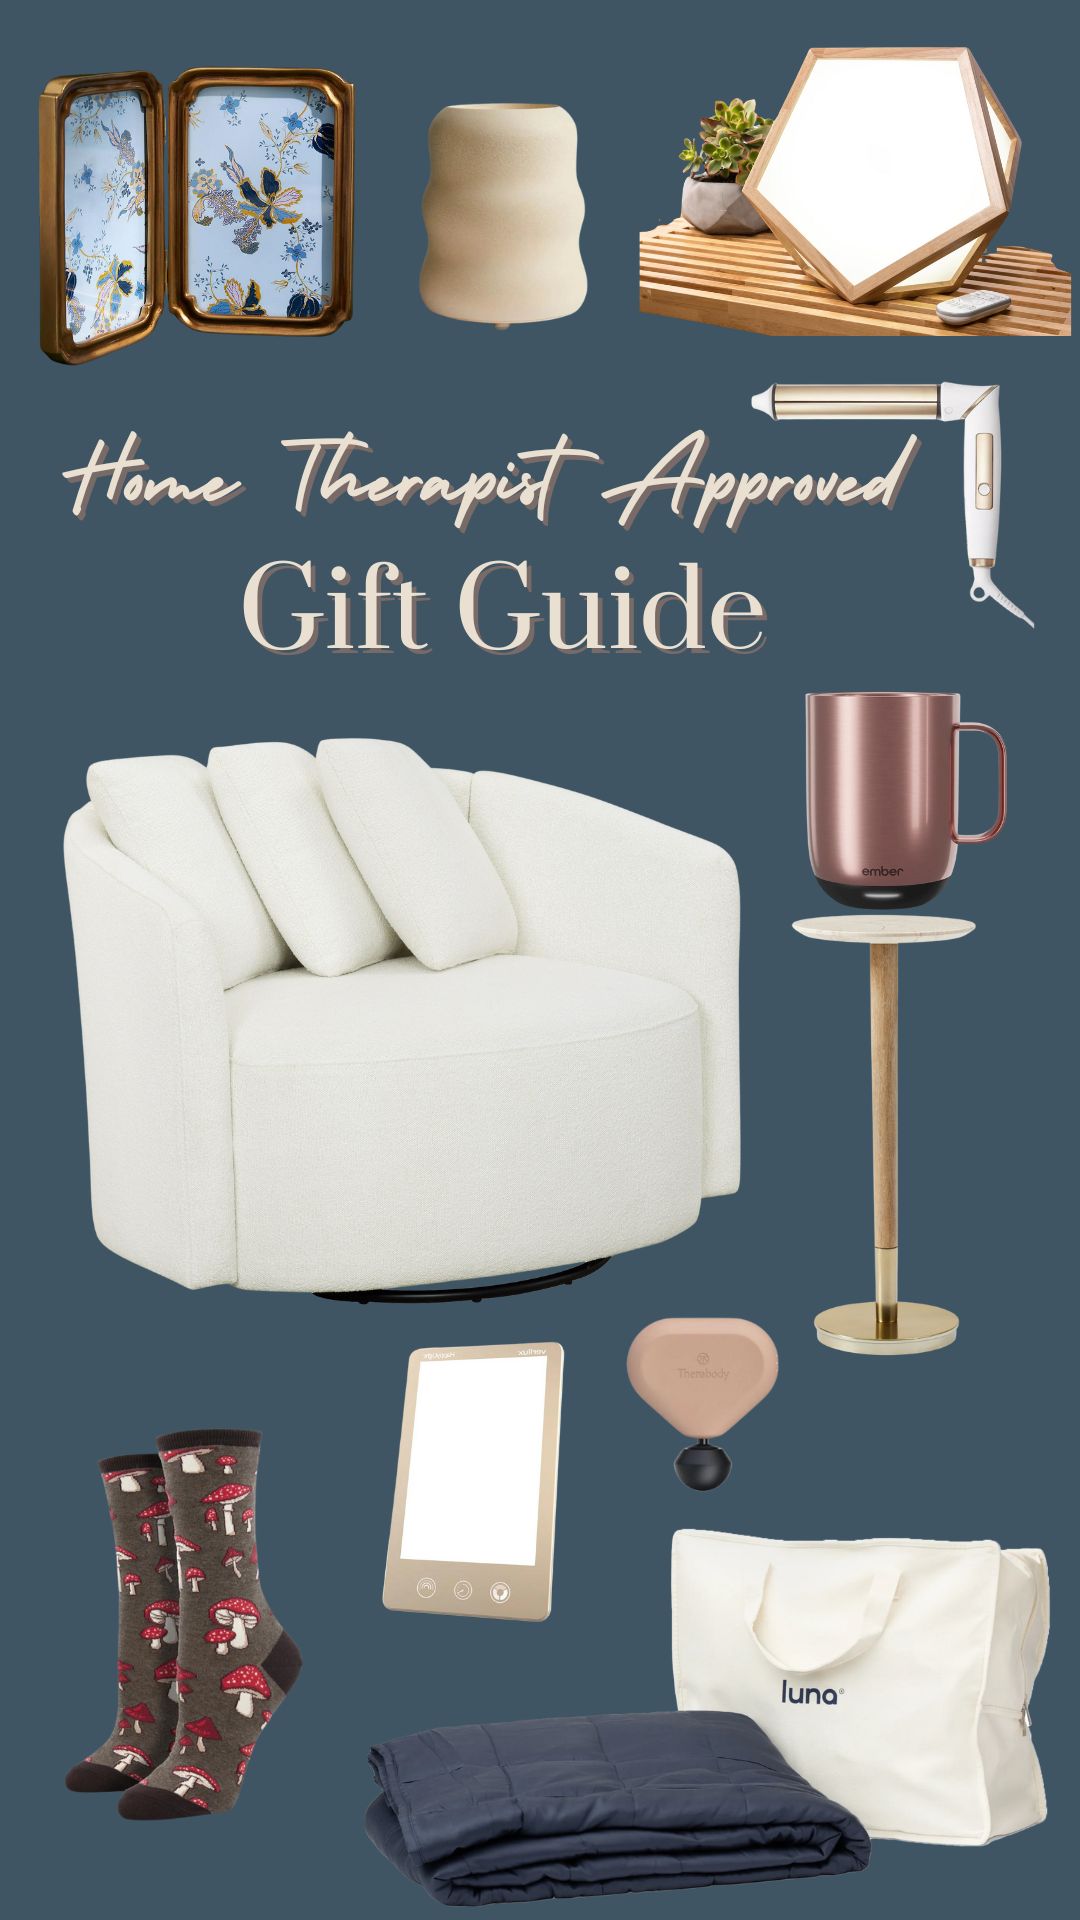
You know me. I LOVE a comfy corner with the perfect chair to curl up in. In my new book, Home Therapy, (which you can pre-order here!) I call these cozy little spots “pause places,” and they’re important tools to build a better relationship with yourself and your environment.
By creating a pause place in your home, you’re actually giving yourself some space to process your emotions in solitude. And what a special gift to give yourself! Setting aside a single chair in your physical space helps to signal that alone time is a necessary part of your larger at-home ecosystem.
It’s important that your pause place is set up for success. When you sit down, are you comfortable? Is there a place to put a warm drink? Do you have access to a journal or meditation tool that will help you hone in on your deepest thoughts and feelings?
If not, it might be time to incorporate a little side table. And I have just the DIY for that!

You’ll Need
2 IKEA Armrest Trays: These things are so handy and can be used about a million different ways! I’d suggest picking up a third, just in case another fabulous idea strikes. 😉
IKEA Lazy Susan: Sleek and simple, this rotating tray works perfectly because the pedestal fits right into the column we’re going to create with the armrest trays.
Cardboard: Plan to save your next Amazon box, if you don’t already have a recycling bin full of them! (Anyone else guilty of this? 😂)
E6000 Glue: If we’ve ever done a DIY together, you definitely already have this glue. But if it’s your first time, make sure you get the clear kind!
Paint (optional): We chose a calm gray from Sherwin Williams that reflects how I want the pause place to feel: soft and subtle.
How To IKEA Hack a Side Table
Step 1
Lay the two Armrest Trays side by side, so the panels all run the same direction. (The whole base will need to curl!) Now, turn these over, and glue the cardboard so it overlaps both trays.
Step 2
This step can be skipped if you’re planning to leave the wood as-is. But if not: paint! I recruited a little help from Natalie for this project, and we made quick work of both the trays and the lazy susan. Once finished, let the whole thing dry, both paint and glue!
Step 3
Fold the joined trays into a cylinder and use more E6000 glue to secure the back together. Add more glue to the top of the tray cylinder and set the Lazy susan on top. Allow it to dry and then set beside the chair of your choosing!
Positioning Our Pause Place
No, it really is THAT easy! A little bit of paint and glue, and just like that, a side table appears beside the armchair of your choosing. Now, your pause place has the ability to hold your notebook, a relaxing candle, or even a DIY succulent planter to add the supportive power of nature to your space.
And by making that space beautiful, you help to prioritize yourself inside of it! In our case, we’ll be putting our new side table creation in Emily’s room. Since she moved out of her shared space with Natalie last year, she’s needed more areas to cultivate her own feelings and ideas—and a pause place is exactly what the Home Therapist ordered. 😉
Happy Day!
Anita


+ show Comments
- Hide Comments
add a comment