Here we are again talking about master bathroom updates on a budget!
I help clients design their bathrooms and sometimes I get a bit impatient with my outdated bathroom.
Just check out my thoughts on this post. You will get a very clear idea why this update occurred.
To DIY or Not?
After this DIY project, I give a resounding Yaasss Queen!!!
I mean, just look at this before and after!

And now the “after”

You tell me, was it worth the $82 to change up the flooring?
Easy and Affordable Backsplash
When I set out to DIY up this bathroom, there were two criteria: easy and affordable.
After all, my pie in the sky bathroom remodel is still in the works. Why spend more money and effort when really one day this will be all gutted. (I just heard the angels sing Hallelujah)
When All Modern kindly offered their peel and stick backsplash tiles, I was very eager to incorporate them into the update.

My gut was right. The backsplash tiles shipped quicker than you could say DIY and within an hour, the backsplash was updated.

Adding color and pattern, no longer boring and old, the mosaic backsplash is playful and attractive.
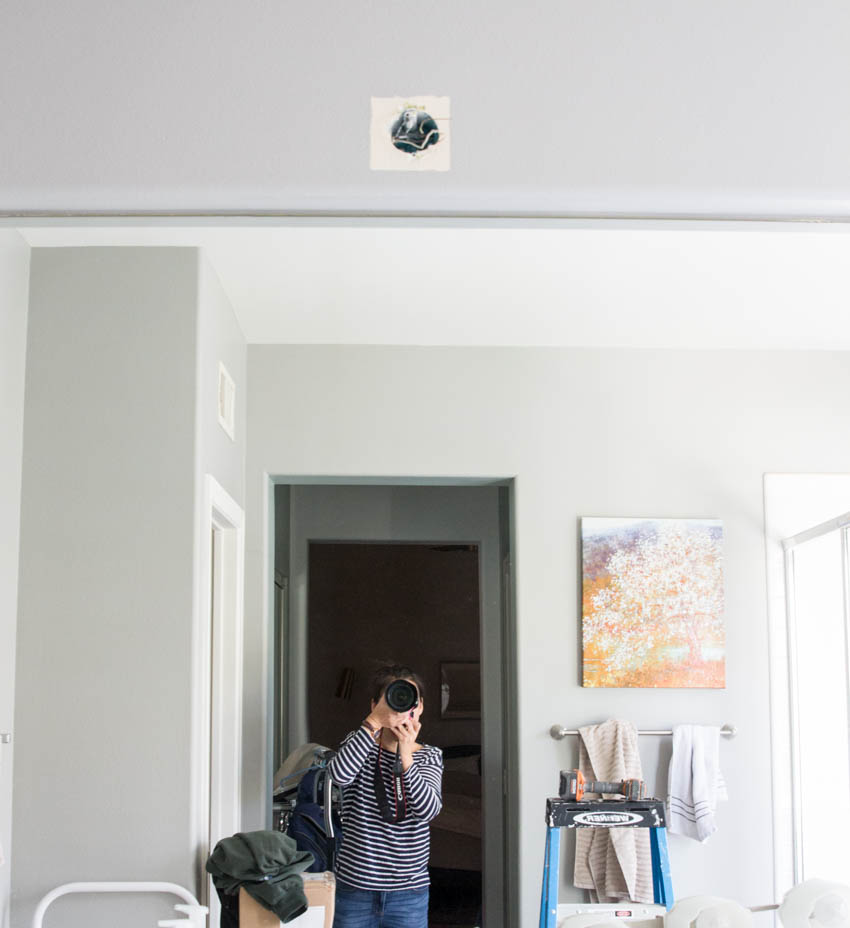
And yes that’s me trying to hide from the reflection. Bathrooms are hard to shoot!
Brass Knobs FTW
I plan to share all the details about my DIY cabinets in the next post. For now, just know that paint comes to the rescue again and again!
But what really sets apart these cabinets are the All Modern cone shaped brass knobs.
Pairing dark colors with warm metallics is a design win every time.

I was looking for something modern, not too expensive and brass. Voila, this was perf!
Lighting is Essential
Another challenge was to update the vanity lighting.

The previous owners had updated to the best of their ability. 10 years ago, we were happy to have the means to purchase a home. So little things that were already new stayed.
Now? It was time to say bye Felicia!

Again, All Modern came to the rescue. I am still in shock at the price for this light. I sincerely have only seen this design as a high end product. To find it on All Modern was a gem.
Did I mention that I attempted to change out the light myself? That day it was only Travis and I. So we didn’t get a chance to take too many pictures. I was sweating just trying to figure out the wires!


I am still in awe. Look.
I did it!! Thankfully it was easy to figure out the wires. Why haven’t I tried before? Oh and thank you YouTube.
Vintage Rug Obsession
As you can guess, I planned a vintage rug for this makeover. Because dark cabinets, rustic flooring begs for one. It just does.

One of my favorite rug shoppes to satisfy my obsession is RebeccaandGenevieve.com.
My friend Valeria artfully curates every single masterpiece and I swoon each time I visit her website.
Needless to say, I can’t visit too often or else her whole shoppe will end up in my home!
I think I can stare at the rug in here forever. Seriously, I can.
Brass Fixtures
Being as petite as I am, the high countertops with the low faucets were cumbersome. I barely could reach to get enough water to wash my face.

Now that daily problem is gone. Again, I didn’t want to spend much. But once everything else was getting a face lift, it was impossible to not change out the fixtures.

Guess what I found on Amazon?

These brass faucets are $68 and well made. I am seriously impressed.
After reading many reviews on Amazon, the one warning I read over and over again was that the Hot and Cold handles were marked incorrect. Good thing I knew that beforehand!

It was my first time changing out faucet fixtures so it was another new challenge I tackled.
Happy Design Vibes

Now, I can honestly share this bathroom without wincing or feeling dread.
I can’t say it enough, if you can no longer stand your dated space, try these!
- Replace outdated lighting and fixtures
- Paint old cabinets
- Add peel and stick backsplash and flooring
- Insert a pretty vintage rug to warm up the space
As always, let me know how your project goes! I love hearing from you. And if you feel stumped, as your design bestie, I would love to help design your home. So click here and let’s get started!
I will share my DIY cabinets refresh very soon! Stay tuned…
Happy day!
SaveSave


What a transformation! Looks amazing.
Thank you so much! Such a easy way to transform a dated look!
Any tips on painting the cabinets?
Lots of sanding to get the melamine roughed up so it can soak in the primer. You have to spend money on a good primer like the one I used. It really was thick and gave the paint a chance to cling on and get good coverage. Melamine is slippery.