As I continue updating my haven, design challenges abound! That’s what makes design life so fun though! The thrill of trying to figure out how to make things work makes my adrenalin run high. I love it.
A few weeks ago, we invited a *big* plant baby into our home. We call him the Beast. And for good reason. Look at this dude.

I liken him as the big dude that watches over all the other plant babies in this room. He’s loving’ his new corner. Just after a few days, we started seeing tiny cacti baby buds growing!
But there was one issue. He is prickly, tall and heavy. The nursery wrapped him in bubble wrap for his ride home with us. We used that to our advantage and armed with oven mitts, gloves, long sleeved shirts we brought him in the house. I should have taken a pic for you guys. It was a riot!
Once he was safely in place, the biggest problem was the less than desirable planter he lived in. This is him before the pot makeover.

There was no way we were going to re-pot him. The basket I had gotten him was too low and I didn’t want to spend more money. I needed to figure out how to make his base pretty and neutral. Challenge accepted.
DIY Planter Makeover
So…..Ding, ding, DIY time!! Instead of re-potting, I thought it was best to just hot glue neutral textures to it and dress the existing pot up! Genius right? And oh guys, it literally took less than ten minutes.
After a quick trip to the local art and crafts store, I got all the materials. (Don’t forget to measure your planter so you know how much material is needed.)
Materials:
- Hot glue gun and glue sticks
- Any fabric, textured prints, tassels, macrame, burlap, doilies, fringe, pom poms, the sky is the limit!

Step 1
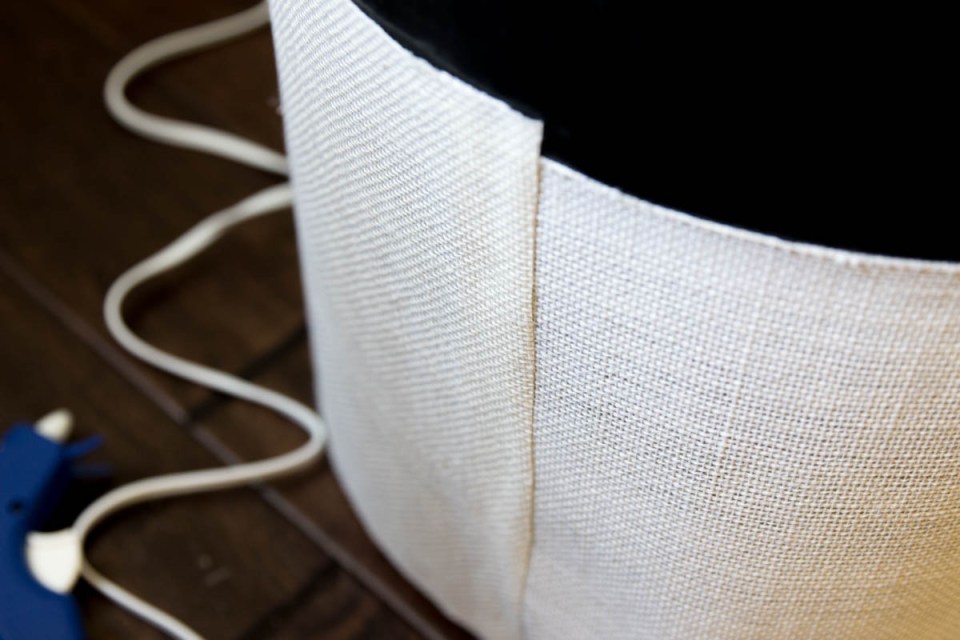
So once the glue gun is ready, wrap the material around the pot and glue the seam. My daughter helped me as I shot these pics. Isn’t she a lovely helper?
So easy guys seriously.

Step 2
To pretty up the top, I went with a macrame look. Michaels is so amazing. They literally have any material or craft needs at their store.
I glued a picked out a pretty macrame wide ribbon to embellish the top of the pot. I wanted a vintage-y feel but definitely not too shabby chic.

And voila, look at the end result!
What do you think?

I adore it!
The plan is to lift the plant up and place it on a shallow plastic liner when I water it once every couple of months. Then take off liner when its nice and dry.
Isn’t this a great way to use an existing planter pot? I do not need the Beast to grow fast. Keeping him in this pot is perfect.

Got any plants you don’t want to re-pot? Or want to save money? Try this DIY planter makeover and let me know how it goes!
Happy day!

Where did you get the beast?
Hi Destiny! I got ours at the local nursery. I am sure you can find one too! Have a great day! xo
I am a big fan of your page on instagram. It’s a big inspiration. Thank you
Thank you so much! I am so encouraged by your kind words and support! Have a great day!