


So many of you loved seeing Travis and I transform the backyard into something magnificent!
The most popular component by far was the DIY construction process for the fence.

Truth be told, Travis and I were quite nervous. We knew we were capable. However, we also knew we had to overcome our differences in how to handle projects under stress.
I am the big idea person boldly going forward into unchartered territory without nary a fear.
Travis is the opposite, he needs to think, think and then triple think again before delving into a decision.
Luckily, after 10 plus years of DIYs here and there, Travis has come to trust my design vision.
And, this fence was a big risk, but we took it by the horns and never looked back.
DIY Mid Century Modern Fence: Prep and Materials
For those who saw our Instagram stories, you could tell Travis loved prepping and planning.
Don’t get me wrong! I love the fact that we have a checks and balances system.
But sometimes, I just want to scream let’s go!!! That hasn’t bode well so I have learned not to do that.
What has gone well for our DIY projects together has been time well spent on YouTube.
There are countless videos on almost anything you can think of.
Trav, in particular, spent a few hours on researching the prep and installation of these two incredible fences. I am so glad he did because there were a couple things we wouldn’t have known otherwise and project would not have been as successful without his preparation and planning.
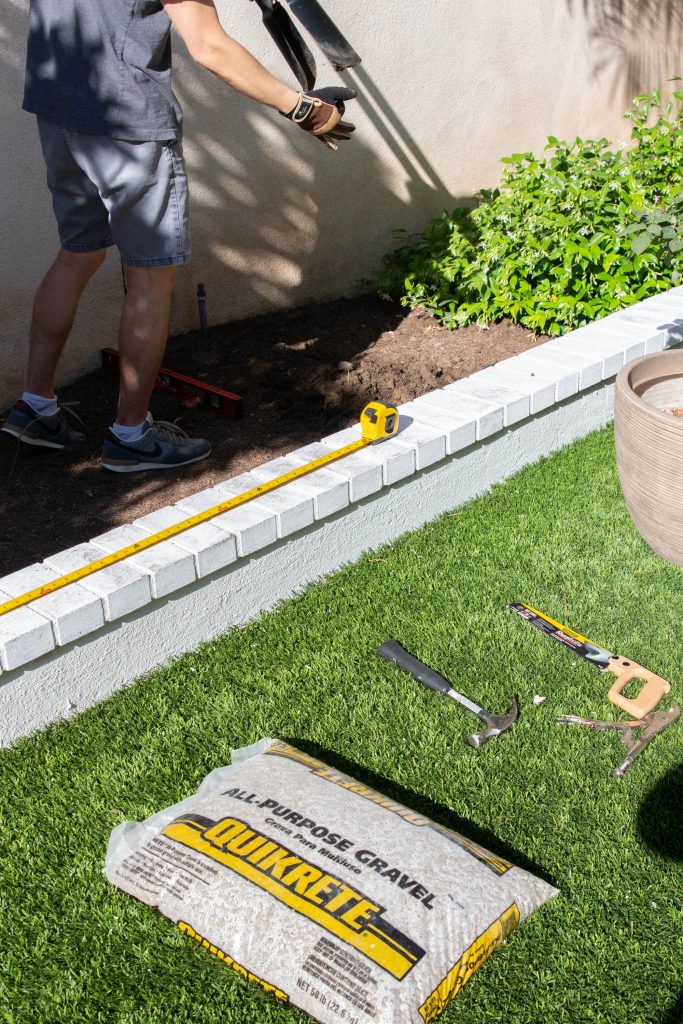
Materials Needed:
Cedar or pine (we went with pine to stay on budget) 1×6 planks 8’ length
Rust-resistant nails or screws (we went with screws)
Electric drill or nail gun
Quick Dry concrete
Gravel
Pressure-treated pine 4×4 posts 8’ length
Post hole digger
Stain or paint
Level
2×4 to use as a temporary brace for the posts

Depending on the size of your fence, you can buy accordingly. For two 6-foot tall 8-feet wide fences like ours, we used 22 planks, 11 per fence. Remember, 1×6 is the dimension of the pine immediately after being cut, but by the time it reaches Home Depot it’s around 5.5 inches wide.
Step-by-Step Instructions and Tips:
- First, depending on what kind of wood you buy, you may need to sand down the planks. Pine planks are pretty rough compared to cedar, so we had to do the sanding ourselves which took about 2 hours. Maybe even more because Travis went back to sand down my previous work. I thought it was unnecessary, just sayin’. Ha!
- For a 6-foot tall fence the posts should be at least 2 feet into the ground. You’ll want to also dig another 6 inches for gravel. More on that in a minute. The diameter of the hole is 3 times the post width, so our holes were about 12 inches. Travis used a post hole digger. He had an inventive hack for measuring the 2.5 feet that I must share with you!
- Trav marked on the post hole digger a 2.5’ line from the shovel tip up to the handle. In this way, he knew exactly when he hit 2.5’ deep in the ground and could stop from there. Instead of using a tape measure from time to time making sure he was digging deep enough. Genius, right?
- Once the holes were dug, we poured 6 inches of gravel into the hole. This helps make the posts less susceptible to rot as it allows for water drainage.
- We then inserted the posts on top of the gravel and made a temporary brace to keep them in place by laying a 2×4 on the ground and attaching it perpendicular to the back of the post with a screw. After using the level to make sure the posts were straight, we then poured in the quick-dry cement. We shaped the cement in a conical shape above the ground level so water will run off. Once the cement dried we removed the 2×4.
- Once the posts were in, we were able to drill in the planks starting from the bottom plank and moving up. We used a ¾ inch shim as our spacers between planks. It was an excellent way to keep the planks straight and even. We still double checked with two levels, one for each end of the plank. It wasn’t perfect, but that may have been partly due to the straightness of the plank.
- After the planks were set, we began to seal it with an exterior wood sealer paint. Even with the sanding the pine still had a lot of imperfections, so make sure to coat everything. And don’t forget the backside!
- Next up, we put together the living wall planters. We learned the hard way to NOT pre-plant the planters. It was too heavy to keep in place when drilling into the planks.But once that was up, we were at the finish line!
- I was in love with the Horsetail Reed. Although not common in the desert, its look matched well and gave visual height. But, we needed to dig 8 more holes. A follower tipped us off that the plants are highly invasive, so we wrapped the roots in weed barrier fabric, placed them back in the pots, and planted them pots-and-all in the ground.
- Trav was exhausted at the end and maybe even a bit over the edge! But he did it and I am so proud of him. We have never built anything like this. Although it wasn’t too complicated, it was our foray into bigger DIYs outside the home.

So do you feel inspired to make this fence? I am going to be honest, this was a huge design risk for me. I wasn’t sure if adding a fence would be amazing or redundant since there was already a stucco wall and greenery. Now I know! Adding an additional visual layer still trumps staying with the same ho hummery wall with no dimension.
I am elated that this project turned out so well!
Big thanks to Travis for being such a trooper and his meticulous self! If it wasn’t for his steadfast patience and hard labor, this transformation couldn’t have happened!
I hope this inspires you to get out there this weekend and start something beautiful in your backyard too!
Happy day!


Are we going to get a full backyard reveal???
did you see my latest post on the backyard reveal?:)
Hi Anita! I am having trouble finding your recent backyard reveal post. Can you link it? I love the pergola structure, can you share information on where you got it from? Thanks!
Hi Linda!
Look under DIY! It has all the links! Lmk if you cant find it still.
xo
I noticed the link for the planter bags aren’t the same as yours. Looking for individual ones like you have. Where did you find yours? Thank you! Great project.
They are the same brand! I bought mine at a local nursery. So maybe call your local nurseries?